Language

Are you tired of dull and lifeless ceramic tiles in your home? Wondering how you can bring back their shine and beauty? Well, look no further. In this discussion, we will explore the fascinating world of ceramic tile grinding and how it can transform your space. From the tools you need to the techniques you should master, we will uncover the secrets to achieving flawless results. So, if you're ready to unlock the potential of your ceramic tiles and create a stunning space, let's embark on this journey together.

To grind down ceramic floor tile, you will need a few key tools and follow a series of steps. First, gather the necessary materials such as an angle grinder and a dry-cut diamond blade. Then, secure the tile in place and slowly lower the grinder towards the marked line on the tile, applying gentle pressure. Repeat this process until the desired level is achieved, and remember to wear appropriate safety gear throughout the process.
To effectively grind down ceramic floor tile, you will need specific tools and safety equipment. Here are the things you'll need:
To grind down ceramic floor tile, you will need to follow a series of steps. Step 1 involves cleaning and preparing the tile, removing grease and dirt, and ensuring a secure fit. Step 2 involves installing and selecting the appropriate grinding disc for the desired outcome. Step 3 is where you begin grinding the tile, applying gentle pressure and using circular or side to side motion. Finally, in Step 4, you continue grinding until the desired shape is achieved, considering finishing touches and tips along the way.
To achieve a proper fit, it is necessary to turn the ceramic tile upside down and mark the area that needs to be ground down.
After marking the specific area that needs grinding on the ceramic tile, you can proceed to the next step of grinding down the tile. To achieve a smooth finish, you will need the following equipment: an angle grinder with a dry-cut diamond blade. Ensure that you wear safety glasses, a dust mask, and hearing protection during the process. Avoid common mistakes by applying gentle pressure and using circular or side to side motions while grinding.
To begin grinding down ceramic floor tile, make sure you are wearing eye protection and a dust mask before plugging in your angle grinder.
Remember to take breaks and check your progress to ensure you are achieving the desired outcome.
In order to grind down ceramic floor tile, the next step is to carefully lower the tip of the angle grinder towards the pencil line on the tile surface. Press the tip of the grinder against the top of the ceramic tile, applying gentle pressure. The blade will grind its way through the tile with very little force. Remember to take safety precautions such as wearing safety glasses and a dust mask. For alternative methods, consider using ceramic tile polishing techniques for a smoother finish.
Lower the tip of the angle grinder towards the pencil line on the tile surface, applying gentle pressure as you press the tip of the grinder against the top of the ceramic tile.
When grinding down ceramic floor tile, it is important to use the proper techniques and tools to ensure safety and avoid common mistakes. Here are three key steps to follow:

To grind porcelain tile, you will need a few key tools and materials, including an angle grinder and a dry-cut diamond blade. Start by cleaning and preparing the tile, removing any grease or dirt and drying it thoroughly. Then, secure the tile and attach the grinding disc to the angle grinder. Apply gentle pressure and use circular or side-to-side motions to shape the tile to your desired outcome.
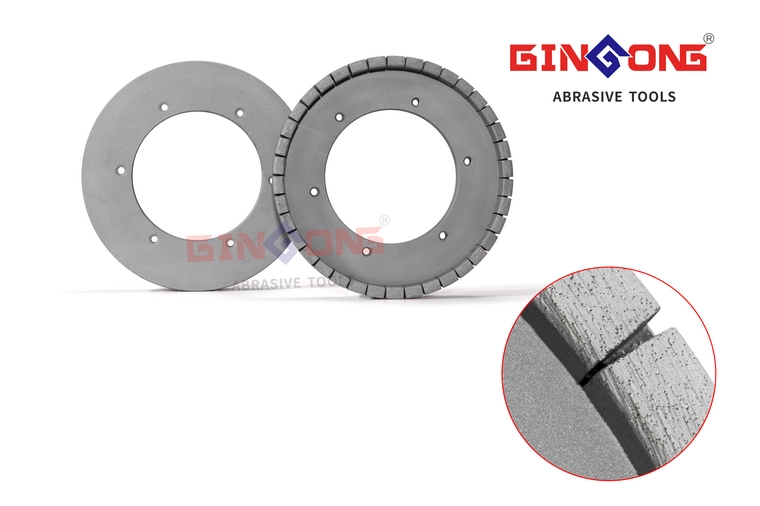
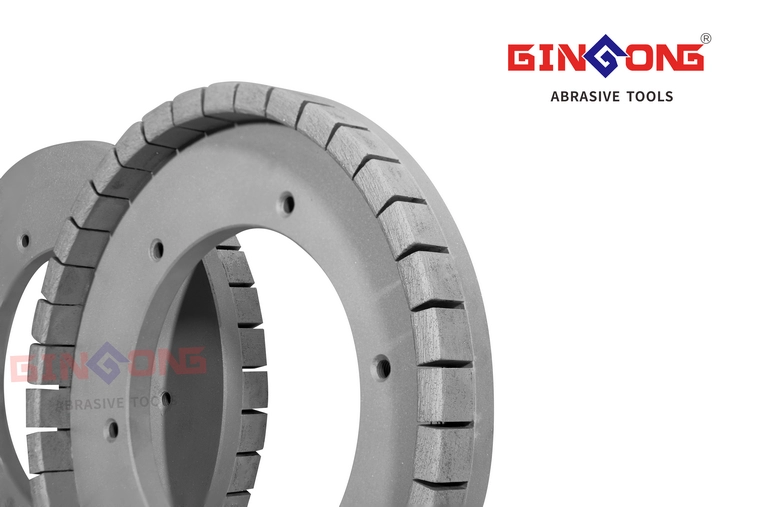
To grind porcelain tile, you will need an angle grinder and porcelain tile grinding discs. Here are the things you'll need for this task:
Now let's delve into the step-by-step process of grinding porcelain tile. The first step involves cleaning and preparing the tile, ensuring it is free from grease and dirt. Next, you need to position and secure the tile, using a vise or creating space for grinding. Then, it's important to select the appropriate grinding disc and attach it to an angle grinder. Finally, you can begin the grinding process by applying gentle pressure and using circular or side-to-side motions to shape the tile.
In order to begin grinding porcelain tile, it is imperative to ensure that the tile is thoroughly clean, free from any grease or dirt residues. Here are three important steps to follow:
After ensuring that the porcelain tile is clean and properly positioned, the next step in grinding porcelain tile is to securely hold the tile in a rubber edged vise or create enough space to maneuver the grinder around the tile. This step is crucial for maintaining control and stability during the grinding process. It is important to follow safety precautions and choose the right equipment option for grinding techniques. In case of any issues, troubleshooting tips and alternative methods can be explored.
To grind porcelain tile, the next step is to attach a porcelain tile grinding disc to an angle grinder. Here are some important grinding techniques to keep in mind:
Remember to follow these maintenance tips to keep your grinding disc in good condition: regularly inspect the disc for any signs of wear or damage, clean it after each use, and store it in a safe and dry place.
Now that you have attached a porcelain tile grinding disc to your angle grinder and familiarized yourself with the necessary safety precautions, you can begin the process of grinding porcelain tile. Gently apply pressure with the grinding disc to the tile surface. Start out very slowly, with the grinder set on a medium speed, until you can get a feel of how fast the tile will grind. This will help you control the grinding process and achieve the desired outcome.
Continue shaping the tile by using a circular or side to side motion with the grinding disc. To ensure a successful grinding process, follow these techniques:
Remember to take safety precautions and wear appropriate protective gear. Once you have achieved the desired shape, finish the tile with any necessary touches or explore alternative tile shaping methods.
To cut tile with a grinder, there are several important points to consider. First, gather the necessary tools, including an angle grinder and a dry-cut diamond blade. Next, when cutting circles, tilt the grinder and make a shallow score along the guideline, gradually cutting deeper until you reach the desired depth. For semicircles, make short cuts on both sides and connect them progressively deeper until you cut through the tile. Finally, for small holes, plunge the blade through the tile, keeping it centered on the hole, and make repeated cuts until the circle is complete.
To cut tile with a grinder, you will need several essential tools and equipment, including an angle grinder, a diamond blade, clamps, a dust mask, hearing protection, and safety glasses.
Here are the things you'll need:
Remember to always wear a dust mask, hearing protection, and safety glasses to protect yourself from the dust and debris. By having these tools and equipment ready, you can ensure effective grinding techniques, essential safety precautions, and achieve smooth and even results when cutting ceramic tiles with a grinder.
To cut perfect circles in ceramic tile using a grinder, you will need to tilt the blade at a specific angle and make progressive cuts to create the desired shape. This tilting technique is essential for achieving precision cutting and creating curved tile edges. When cutting circles, it is important to maintain a consistent angle throughout the cutting process to ensure a smooth and accurate result. By following these circular cutting tips and maintaining a consistent angle, you can achieve the desired shape with ease. Remember to make deeper cuts with each revolution, gradually moving the cut closer to the center of the circle. By employing this technique, you can achieve professional-looking curved tile edges.
When roughing out semicircular cuts before trimming to the line, it is important to follow a similar technique as cutting full circles, starting by marking the cut and scoring the face of the tile on the line, then removing the excess tile with straight cuts. Here is what you need to do:
For making a dish-shaped cutout for small holes when cutting tile with a grinder, start by marking the circular cutout on the back of the tile. Then, plunge the diamond blade down through the tile, keeping it centered on the hole. Make sure that the slot made by the blade extends equally on both sides of the circle marks. Check frequently to see when the slot through the front of the tile reaches the edges of the desired cutout. Use the length of that plunge cut to gauge the diameter of a second, larger circle. Draw that larger circle on the back of the tile and use it as a guide for making the rest of the plunge cuts. Rotate the grinder about a blade's width and make another plunge cut, stopping at the outer circle. Continue this process until you finish the hole.
| Step | Procedure | Tools/Materials |
|---|---|---|
| 1. | Mark the circular cutout on the back of the tile. | Pencil, Measuring tool |
| 2. | Plunge the diamond blade through the tile, keeping it centered on the hole. | Angle grinder, Diamond blade |
| 3. | Check frequently to see when the slot through the front of the tile reaches the edges of the desired cutout. | Visual inspection |
| 4. | Use the length of the plunge cut to gauge the diameter of a second, larger circle. | Measuring tool |
| 5. | Draw the larger circle on the back of the tile and use it as a guide for making the rest of the plunge cuts. | Pencil |
| 6. | Rotate the grinder about a blade's width and make another plunge cut, stopping at the outer circle. | Angle grinder, Diamond blade |
| 7. | Continue this process until you finish the hole. | Repeat steps 2-6 |
To make rectangular cutouts in tile using a grinder, start by carefully plunge-cutting from the back of the tile to create the desired shape for electrical outlets or other fixtures. This precision cutting technique allows you to avoid visible cuts and achieve clean, professional results. Here's how to do it:
To cut ceramic tiles with an angle grinder, you need to select the appropriate blade, install it on the grinder, and design the cut according to your desired outcome. Follow easy cut directions by wearing safety equipment, applying light pressure, and angling the grinder back and forth until the blade cuts through. For complex cuts, mark an outline on the glazed surface, divide the cuts into smaller sections, and trim the unfinished edge of the tile to fit before installation.
When cutting ceramic tiles with an angle grinder, it is crucial to select the appropriate blade for the job. Here are three important factors to consider when choosing the right blade:
To install the blade on the angle grinder for cutting ceramic tiles, ensure that the tile-cutting blade is properly positioned on the grinder's arbor, pointing in the same direction as the tool. Check that the brass arbor bushing on the blade centers it on the grinder's arbor. This bushing is important as it maintains the edge of the arbor in the center. Adjust the arbor nut by hand and then lock the blade into place before using the grinder's spanner wrench to finish tightening the nut. This ensures that the blade is securely attached to the grinder and will not come loose during use. Proper blade installation is crucial to ensure effective and safe cutting of ceramic tiles.
To effectively cut ceramic tiles with an angle grinder, carefully plan the desired shape and dimension of the cut on both the glazed and unfinished surfaces. Here are some key points to consider when designing the cut:
You can easily cut ceramic tiles with an angle grinder by following these simple directions. First, put on a dust mask, ear protection, and safety glasses for safety precautions. Turn on the angle grinder and hold it firmly while checking for any blade vibrations. Apply light pressure to score the pencil line on the tile, creating a 1/16-inch deep groove. Angle the grinder back and forth continuously until the blade cuts through the tile. Make sure to grind any sharp edges away from the blade's side. These cutting techniques will help you achieve precise and clean cuts on your ceramic tiles. Remember to also consider alternative cutting methods, troubleshoot any issues, and add finishing touches for a professional result.
Now let's delve into the complex cut directions for cutting ceramic tiles with an angle grinder.
Yes, you can use a regular grinder to grind down ceramic floor tiles. However, it's important to note that there are alternative methods available. Using a regular grinder has pros and cons, so follow these tips for smooth and even results. Use grinding wheels suitable for ceramic tile grinding and avoid common mistakes.
When using an angle grinder to cut tile, ensure your safety by wearing protective gear. Choose the right blade for the job and follow proper cutting techniques to avoid accidents and achieve precise results.
No, using a wood-cutting blade on an angle grinder to cut ceramic tiles is not recommended. It can cause chips and cracks. It's best to use a tile-cutting blade specifically designed for ceramic tiles.
To make complex cuts on ceramic tiles with an angle grinder, mark the outline, divide cuts into smaller sections, and trim as needed. Use straight and radial cuts, and clean up rough edges with a diamond blade or tile nipper.
The average cost of an angle grinder is around $50, while a dry-cut diamond blade for cutting ceramic tile starts at $20. These tools are essential for precise and efficient tile cutting.
In conclusion, mastering the art of ceramic tile grinding is essential for achieving professional results in your tile projects. By following the step-by-step instructions and expert tips provided, you can shape and smooth the edges of your ceramic tiles, ensuring a perfect fit and a fresh new look. Remember to select the appropriate grinding disc, apply the correct pressure, and choose the right blade for cutting tiles to enhance your grinding experience. Take your ceramic tile projects to the next level with the knowledge and techniques shared in this article.